Dazbo's Acme Blogging App on Google Cloud
Acme Blogging App Hosting on Google Cloud Platform

Using the CI/CD Pipeline
This page details how to use the CI/CD pipeline. Whilst the source originally lives in GitHub, this chain demonstrates using Google Source Repos.
Contents on This Page
Overview
The general steps for using the pipeline are:
- Get the relevant code into Google Source Repos, as a git repo.
- Create a cloudbuild.yaml, which takes the source code, optionally performs some testing, builds some sort of artefact (such as a container image), and optionally deploys to Google Cloud, e.g. as containers in Cloud Run, or as Cloud Functions.
The pipeline is able to run Terraform configurations to deploy resources.
Deploying the Purge App Using Cloud Functions
Source Application Overview
- The source is in GitHub, but we’ll copy this into Google Cloud Source Repos to demonstrate the Google native chain. The source is in the
purge-appfolder. It contains:- main.py
- A Python application that contains two Cloud Functions definitions:
- ghost_posts_get - a function which retrieves current posts, and renders them in json.
- ghost_posts_purge - a function which purges all the posts. (Backup the database before you run this!)
- A Python application that contains two Cloud Functions definitions:
- requirements.txt - which defines the Python packages needed by the application.
- cloudbuild.yaml - which tells Cloud Build what build steps to execute.
- main.py
Clone the Code and Create a new Google Cloud Source Repositories Git Repo
- Copy the
purge-appfolder to your home folder. E.g.
mkdir ~/purge-app
cp ~/acme-blogging-gcp/purge-app/* ~/purge-app -r
- In Cloud Shell, clone the
acme-blogging-gcprepo from GitHub. Google Cloud Source repos take this format:
https://source.developers.google.com/projects/${PROJECT}/repos/${REPO}
Initialise variables to facilitate next steps. (Some are used for setting up the repo, and some are used later in our gcloud functions deploy.)
export _GCR_HOST=eu.gcr.io
export _CB_PROJECT=cb-cloudbuild-6a53
export _TARGET_PROJECT=prj-ghost-dev-1-2eb70c61
export _TARGET_PROJECT_NUM=197270889644
export _REGION=europe-west2
export _REPO_NAME=ghost-purge-app
export _SCRT=db_pwd
Initialise ~/purge-app as a new git repo, and push to the Google Source Repo as follows:
# Switch to the `cb-cloudbuild` project.
gcloud config set project ${_CB_PROJECT}

# From the purge-app folder
git init
git add .
git commit -m "Initial commit"

# If we didn't create a Source Repo with the console...
gcloud source repos create ${_REPO_NAME}

git remote add google https://source.developers.google.com/p/${_CB_PROJECT}/r/${_REPO_NAME}
git push --all google
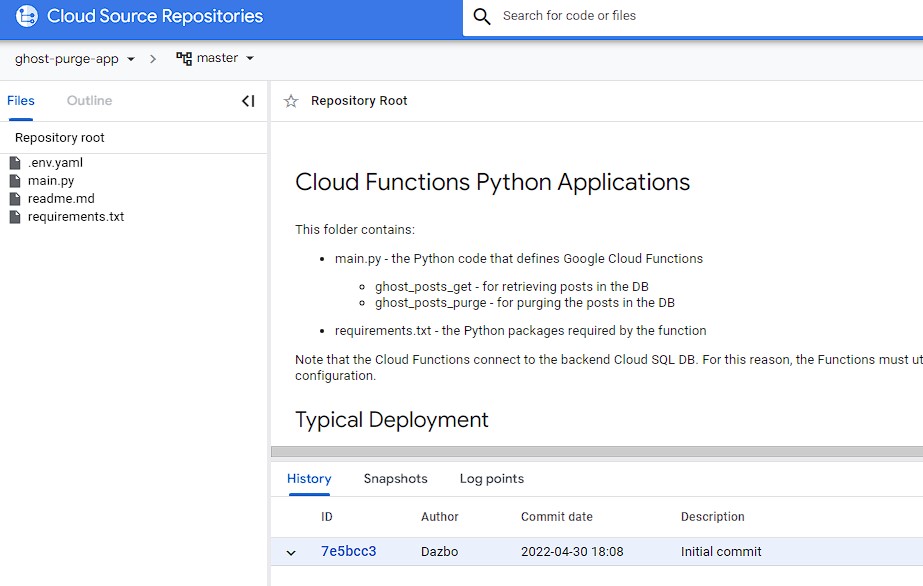
Refreshing the repo in the browser will show that we’ve successfully committed our app code:
Test Deploying the Function Manually Using Gcloud
Create a .env.yaml file, in order for us to pass in parameters to the function:
db_conn_name: "prj-ghost-dev-1-2eb70c61:europe-west2:ghostdb-2eb70c61-776137"
db_user: 'root'
db_name: 'ghostdb'
And now we can deploy the function:
gcloud functions deploy ghost_posts_get --project=${_TARGET_PROJECT} \
  --runtime python39 --trigger-http \
  --allow-unauthenticated --ingress-settings=internal-only --region=${_REGION} --vpc-connector=pri-serverless-vpc-conn \
  --env-vars-file=.env.yaml --set-secrets=${_SCRT}=projects/${_TARGET_PROJECT_NUM}/secrets/${_SCRT}/versions/latest \
  --source=https://source.developers.google.com/projects/${_CB_PROJECT}/repos/${_REPO_NAME}/moveable-aliases/master/paths/
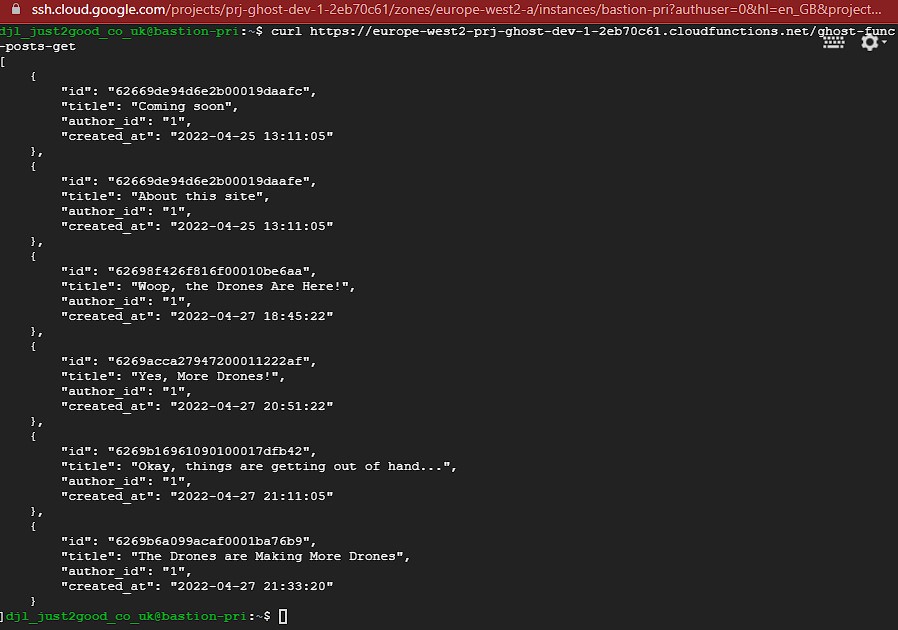
We can test the function from our bastion:
curl https://europe-west2-prj-ghost-dev-1-2eb70c61.cloudfunctions.net/ghost-posts-get
Test Our Terraform Configuration from the CLI
This tests that our Terraform configuration can build the functions. Under normal operation, this will be invoked by our CI/CD pipeline.
cd tf-purge-app
source ../iac/init_vars.sh
gcloud config set project ${TF_VAR_admin_id}
One-off:
Update terraform.tfvars as required. Then, create the pointer to the state bucket:
# We need to point to state in the existing bucket:
cat > backend.tf << EOF
terraform {
 backend "gcs" {
   bucket  = "${TF_VAR_admin_id}"
   prefix  = "terraform/project-factory-funcs/state"
 }
}
EOF

terraform init

# Create workspaces to match previous. E.g.
terraform workspace new dev-1
Replace appropriate variables in terraform.tfvars using output variables from the previous steps.
# check we're in the right workspace. E.g.
terraform workspace select dev-1

# Optionally validate
terraform validate

terraform plan -out out.tfplan
terraform apply "out.tfplan"
Once again, we can test the ghost-func-posts-get function from the bastion:
curl https://europe-west2-prj-ghost-dev-1-2eb70c61.cloudfunctions.net/ghost-func-posts-get
Invoking the Purge
This is as easy as running this from the bastion:
curl https://europe-west2-prj-ghost-dev-1-2eb70c61.cloudfunctions.net/ghost-func-posts-purge
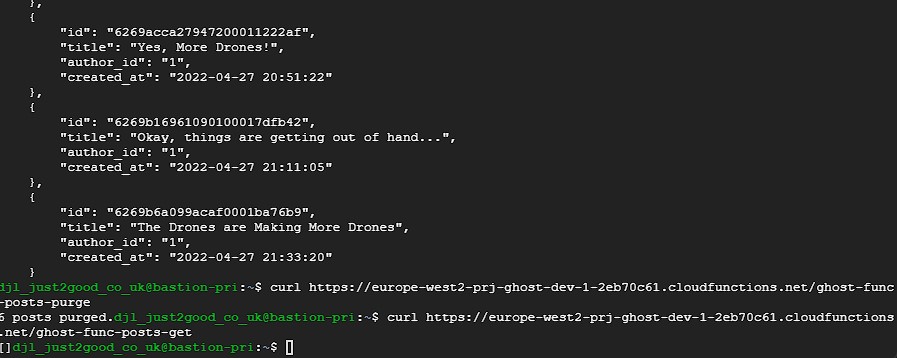
Here, we can see the results of using ghost-func-posts-get, followed by ghost-func-posts-purge (which shows how many rows were deleted), followed by running ghost-func-posts-get again. You can see that there are no posts remaining.
Running the Cloud Functions Terraform using Cloud Build
The Purge App repo already contains Terraform configuration to deploy as Cloud Functions, in a subfolder called tf-purge-app. Furthermore, it already contains a cloudbuild.yaml file which applies the new TF config.
To test the cloudbuild.yaml, from the purge-app folder simply run:
gcloud builds submit .
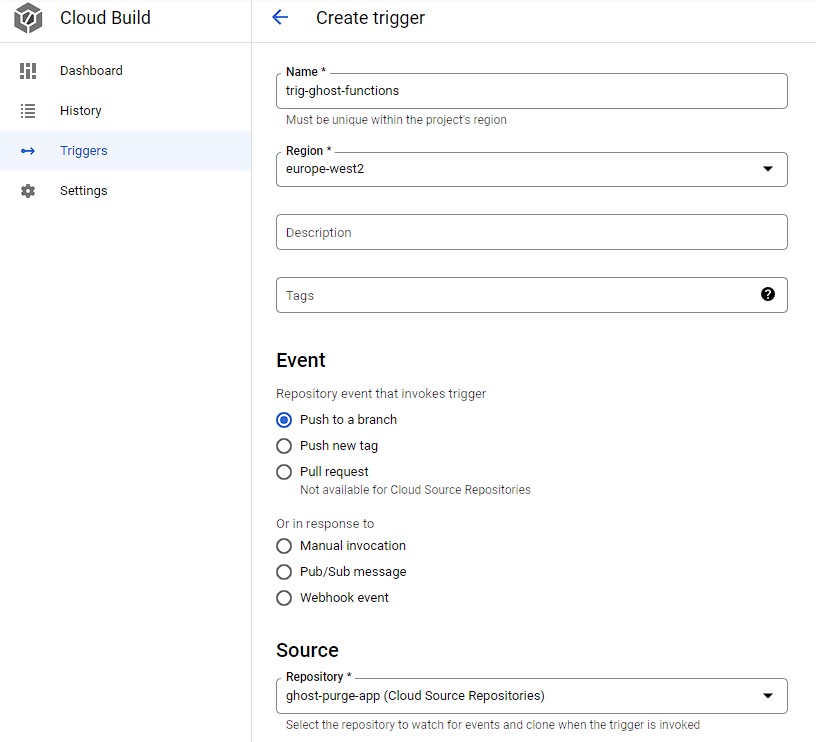
Running the Cloud Functions Terraform using a Cloud Build Trigger
In Cloud Build in the console (in the CloudBuild project) create a new trigger, pointing to the ghost-purge-app repo.
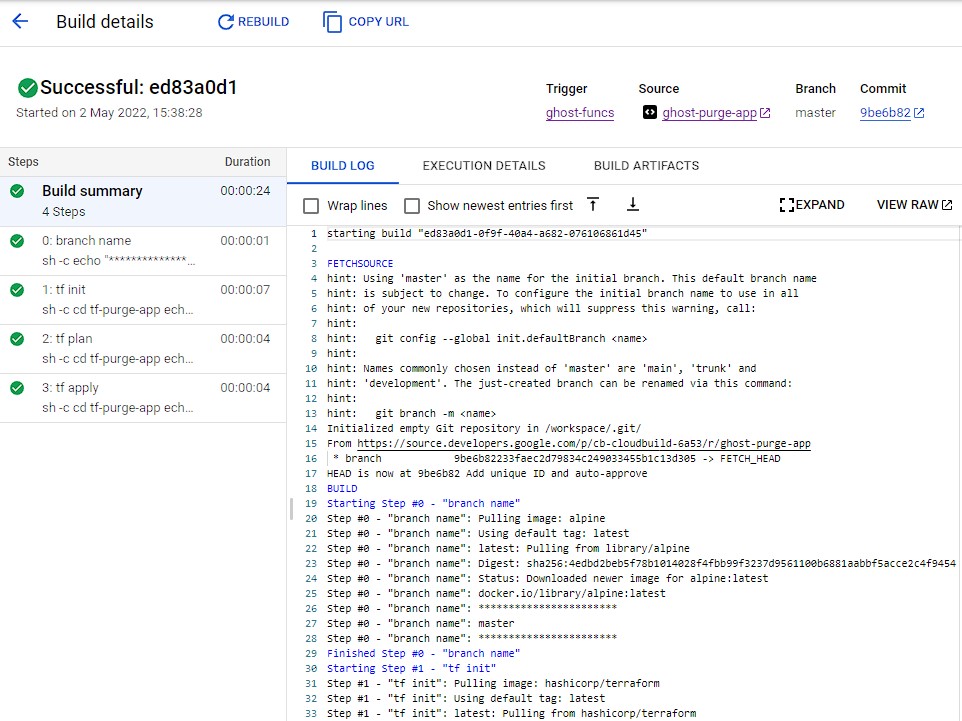
Then test it by pressing Run. We can see it runs successfullly:
Finally, we can test the trigger by making a change to the code in the repo. In this example, I’ve changed the return message in my hello_get_function from Hello World! to The World is Changing!!!. As soon as the change is pushed to the Cloud Source Repo, a new build is automatically initiated.

At this point, it would be easy to setup triggers that deploy to different environments, either by:
- Defining environment variables in the trigger.
- Using the branch name, as passed from a git branch.